Yealink RoomPanel Instructions
IT / Tech · Updated May 8, 2026
- 01
Wake the RoomPanel Screen
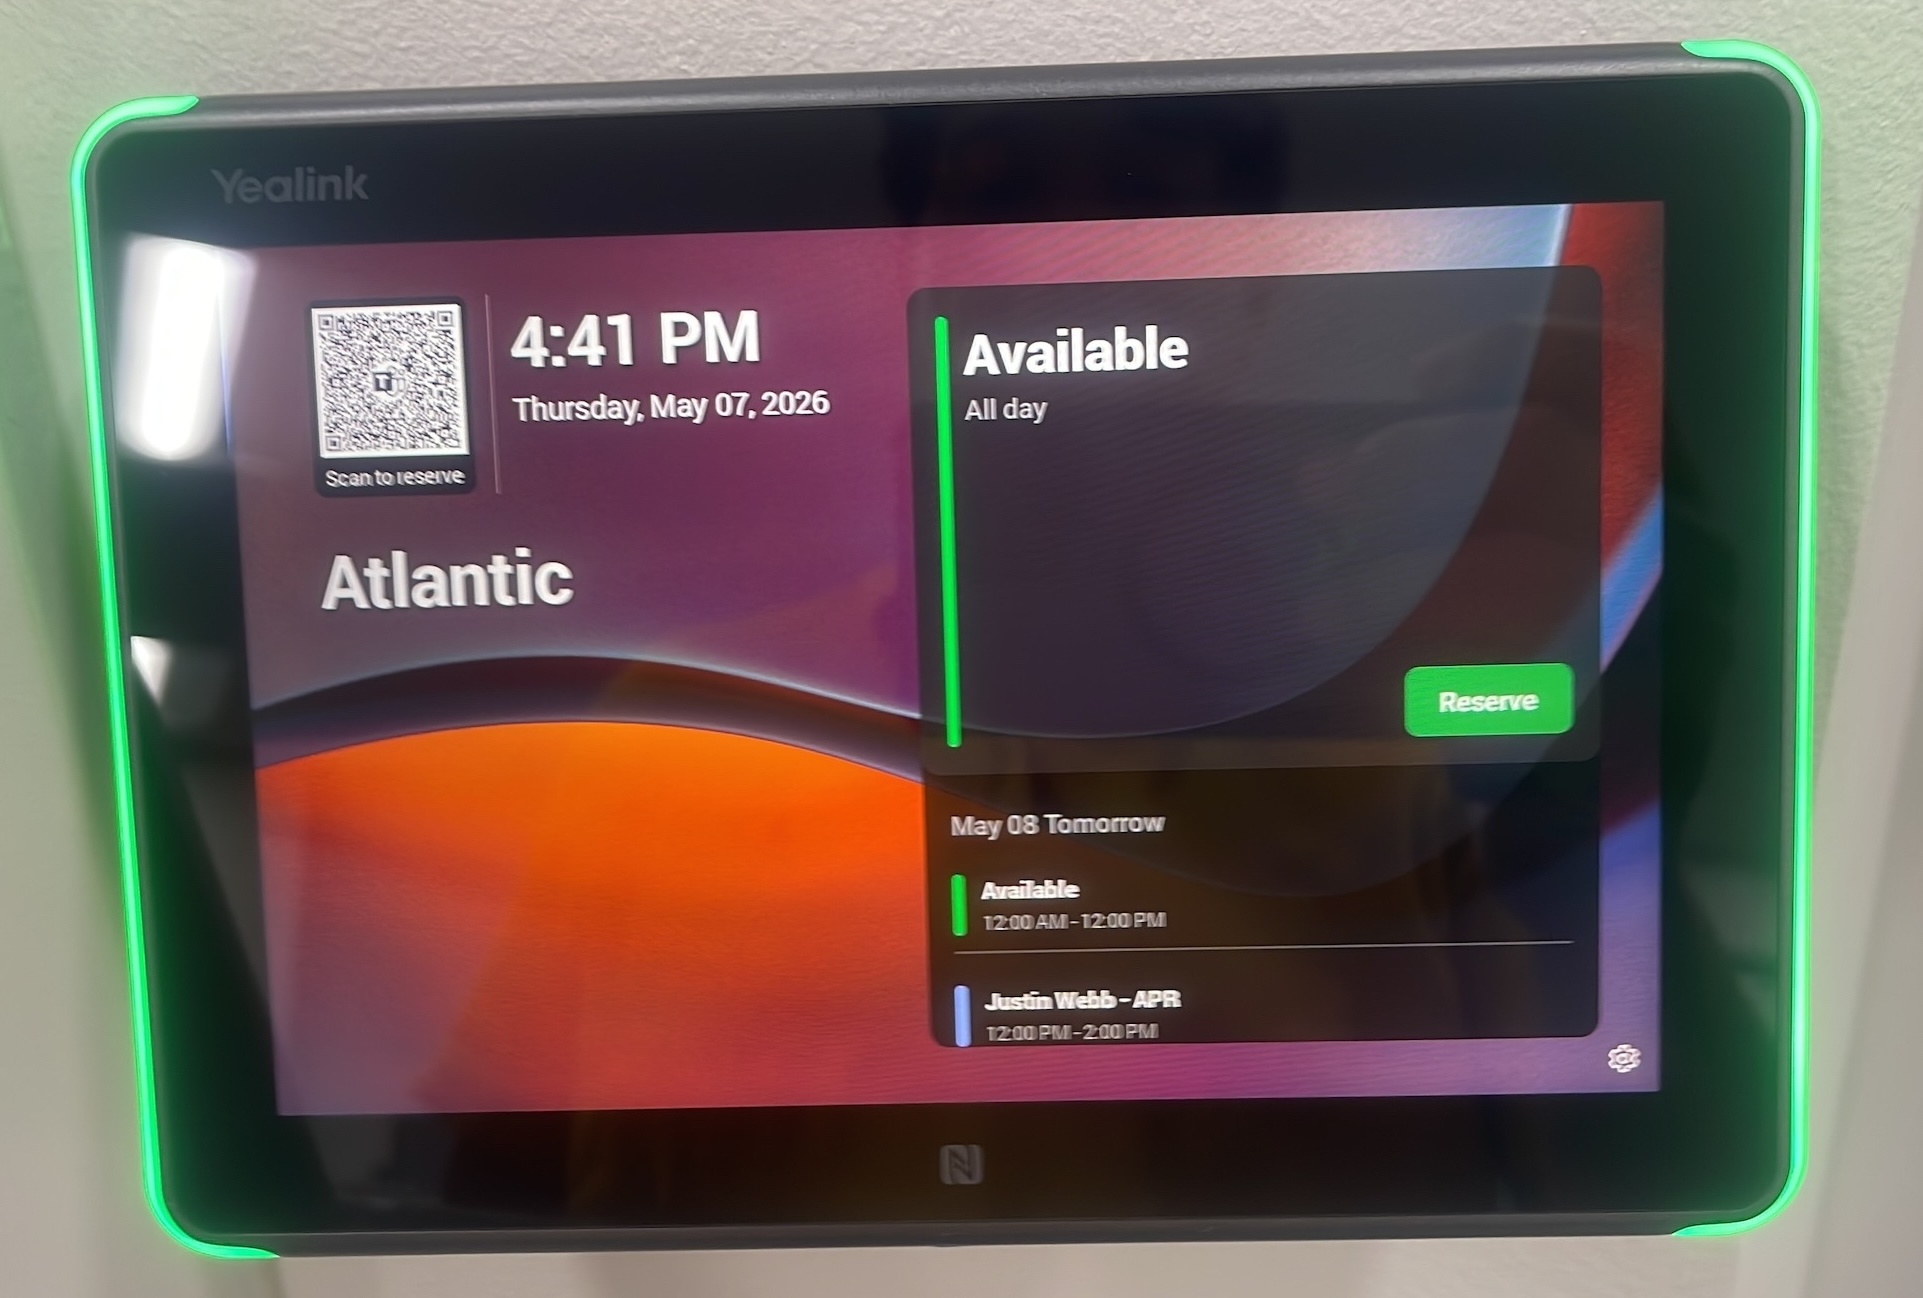
Locate the RoomPanel next to the door. If the screen is dim, tap it once to wake it. A green screen indicates the room is free; blue indicates it is booked.
Warning — If the panel is blue, the room is currently occupied. Select an alternative room or wait for the current reservation to conclude. - 02
Tap Reserve Button
From the home screen, tap the "Reserve" button. A time slot picker will appear, allowing you to select an end time for your reservation.
 Tip — Use this feature for immediate, walk-up reservations. These bookings are not linked to your personal account.
 - 03
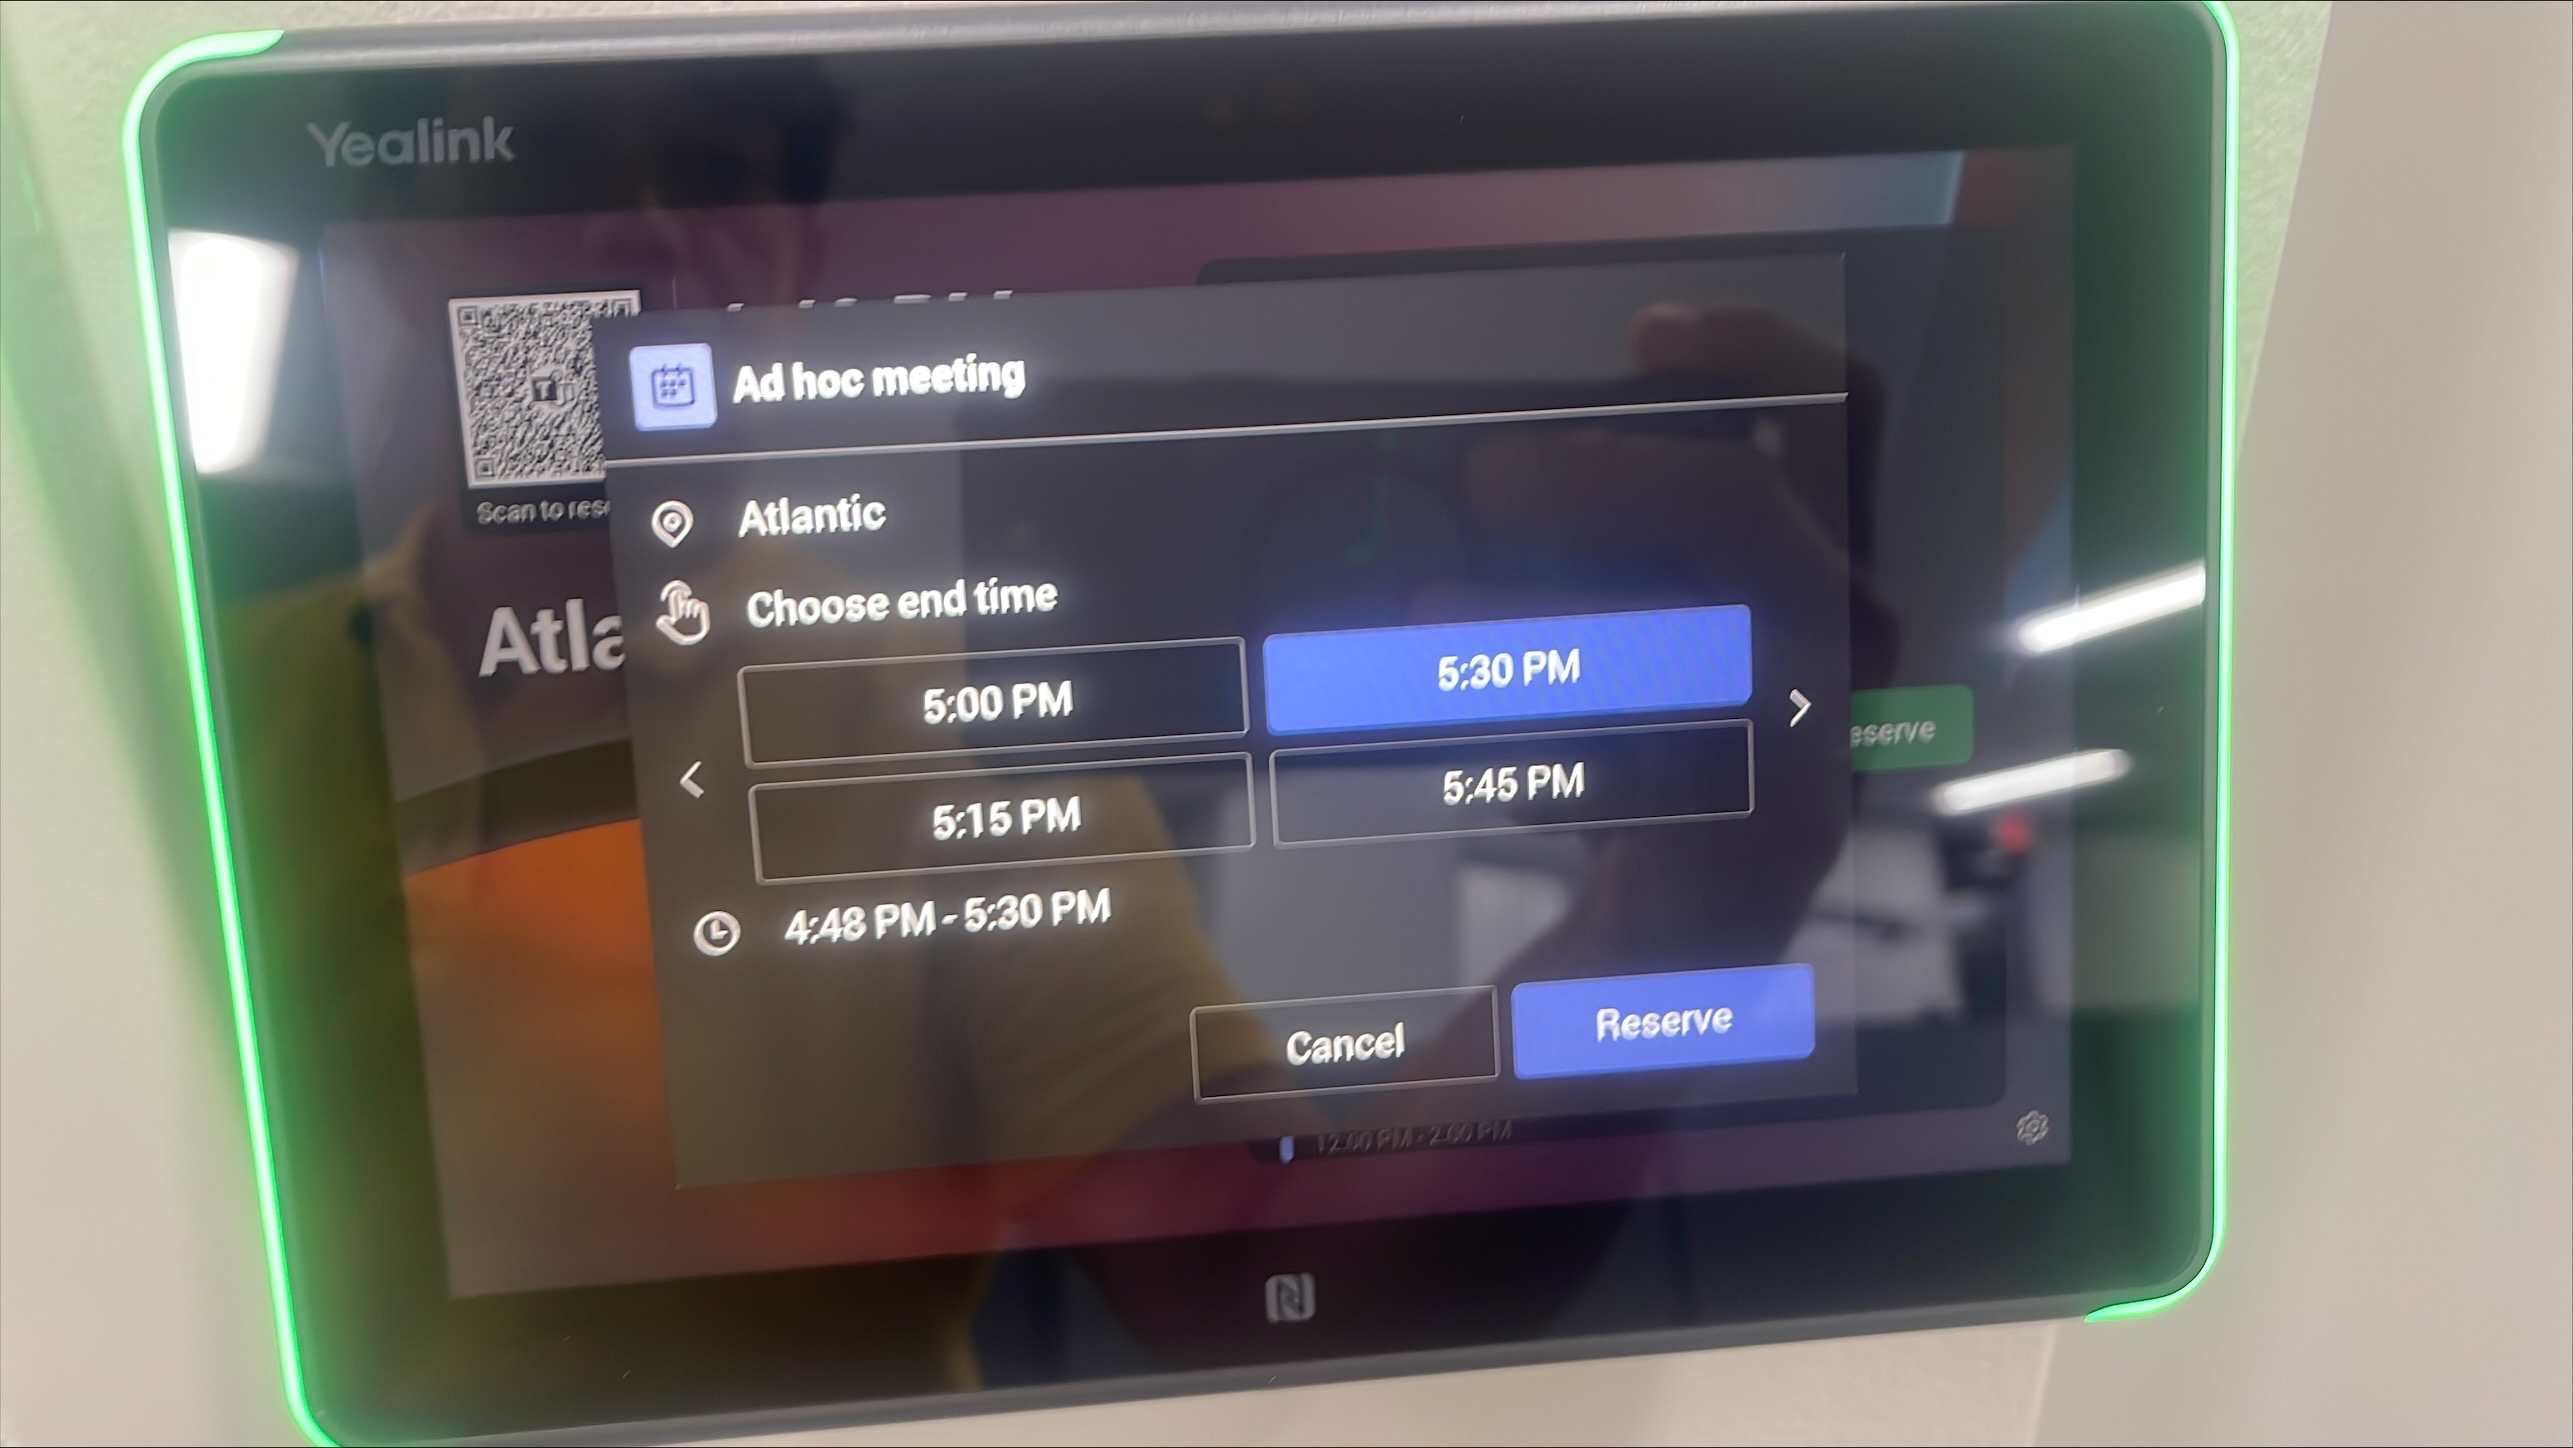
Confirm Reservation Details
Select the desired end time for your quick meeting. Review the reservation details displayed on the screen, then tap "Reserve" again to confirm.
 Warning — Walk-up bookings are anonymous and do not include attendee names, Teams links, or other meeting details. If these features are required, cancel this reservation and book through Outlook or Teams.
 - 04
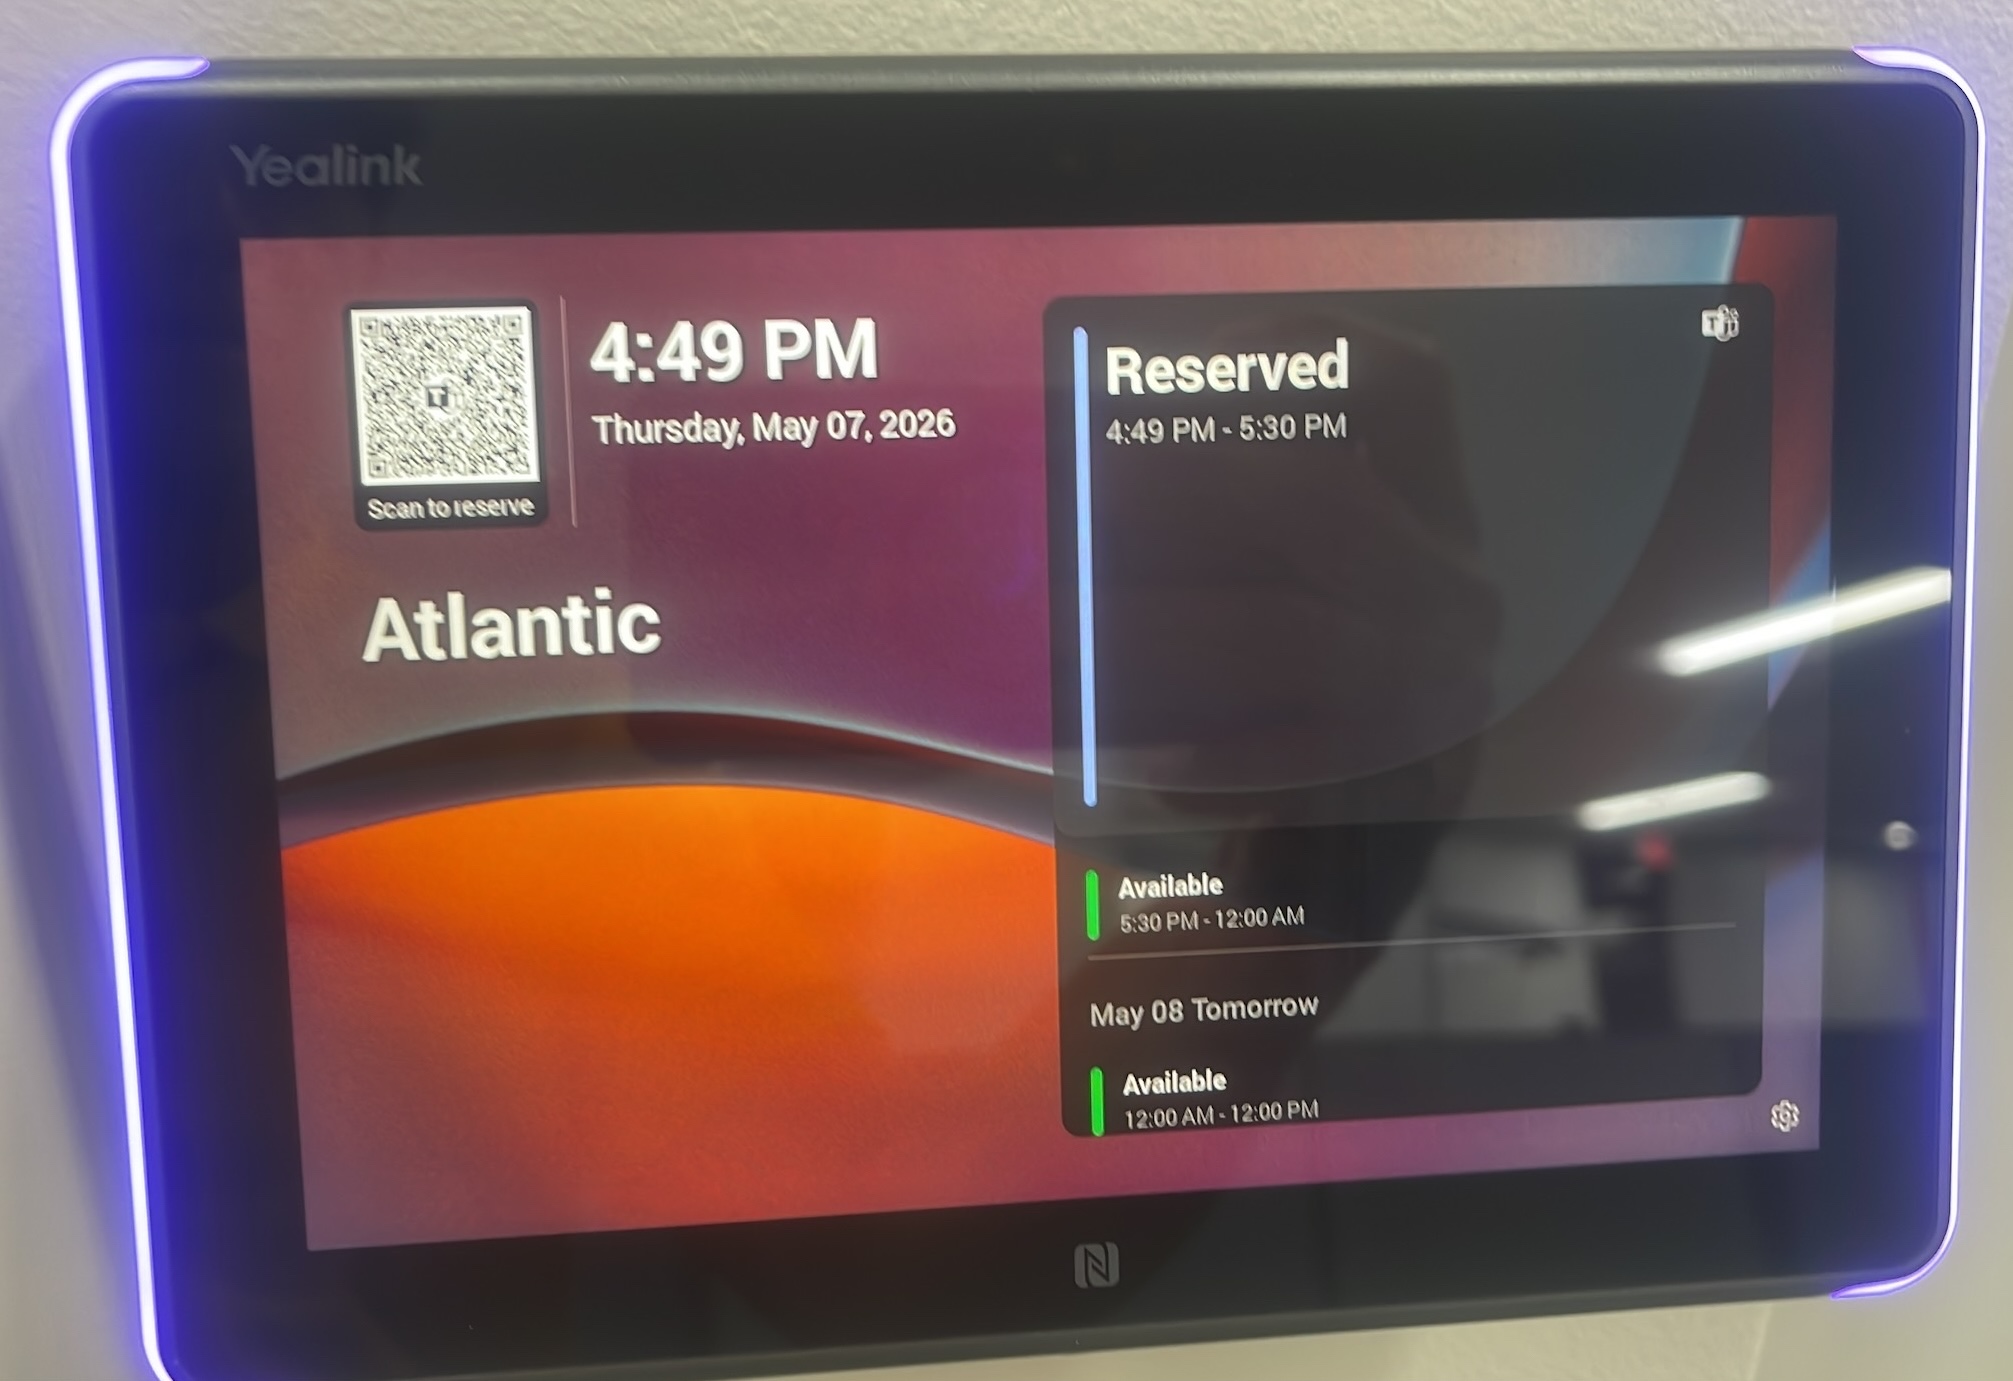
Verify Reservation on Calendar
Confirm that your reserved time slot is now displayed as "Reserved" on the RoomPanel's calendar.